Google Presentation can be tricky so here are some tips:
There are two options that you can do to create your Google Presentation. The requirements are to upload pictures to your slides in your presentation (see page 18).
So, the tricky part is sometimes Google will reject the picture that you upload. The main reason this happens is because the picture is to large in the sense of pixels. So you need to "resize" the picture.
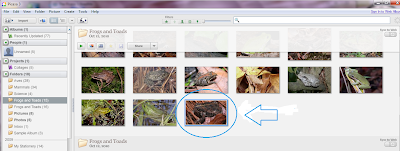
I would suggest doing all your pictures at one time. So, the tool we can use to resize our pictures is Picasa. This is a great tool for someone who loves pictures and is looking for a free picture editing software.
You should already have Picasa downloaded as the requirements for the class. Picasa will automatically find all of your pictures on your computer. The reason we use Picasa is because it is so easy to use as you will see.
Before we start........
1) Create a new folder so you can easily find your resized pictures. This is the folder we will use later.


(Click picture to enlarge image.)
2) Rename the folder: "Resized Pictures for Google Presentation"
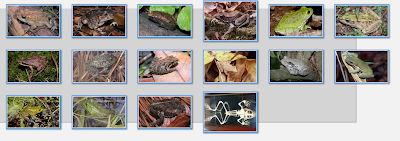
 (If you have all of the pictures you would like to open in one folder, select all the pictures by clicking and dragging your cursor over all of the pictures.)


Stephen! You should have tweeted me about this write up man, I would have spread the word. These are great instructions! Thanks for the tips, we need to keep this in mind for the summer session.
ReplyDelete